
The front of the camera holds a 8x10 format lens. It's mounted in a ring that attaches to a wooden inbox. The lens is a "Rapid Rectilinear", a symmetrical lens with four lenses in two groups around a stop. The lens type was invented in 1866 and was the predominant lens for about 50 years. My particular model lacks an iris and instead you insert thin metal sheets called Waterhouse stops into a slot on the lens to select an aperture. For the moment, I make the stops out of ordinary playing cards.
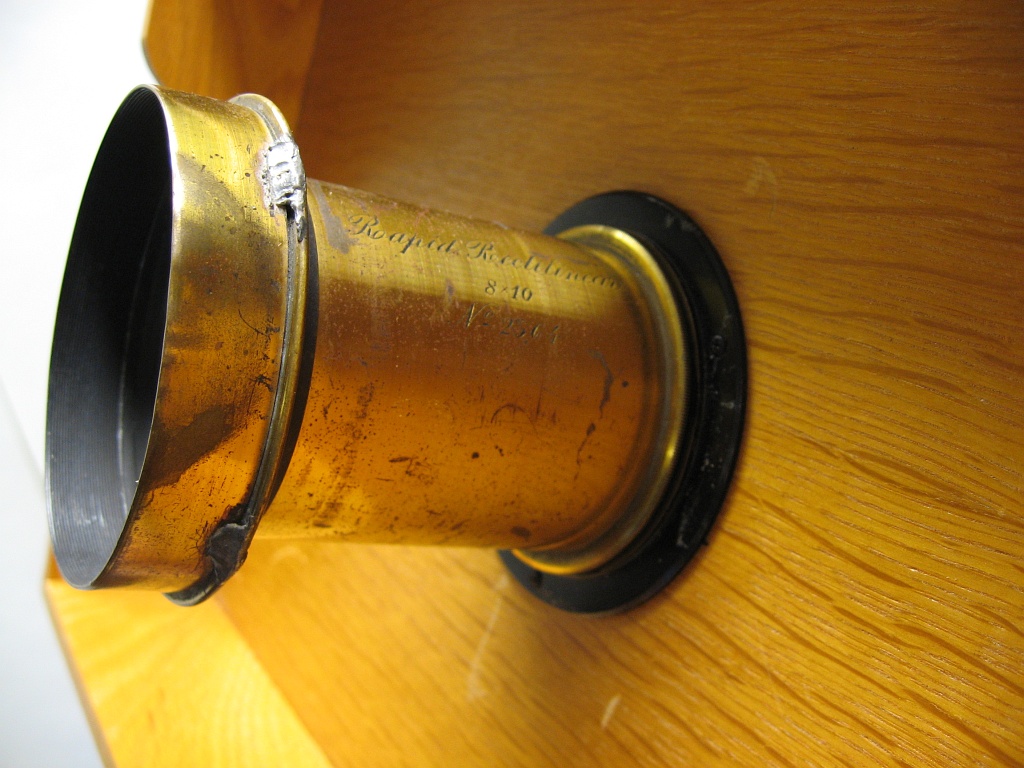
Both the lens and lens mounting ring were bought on Ebay.
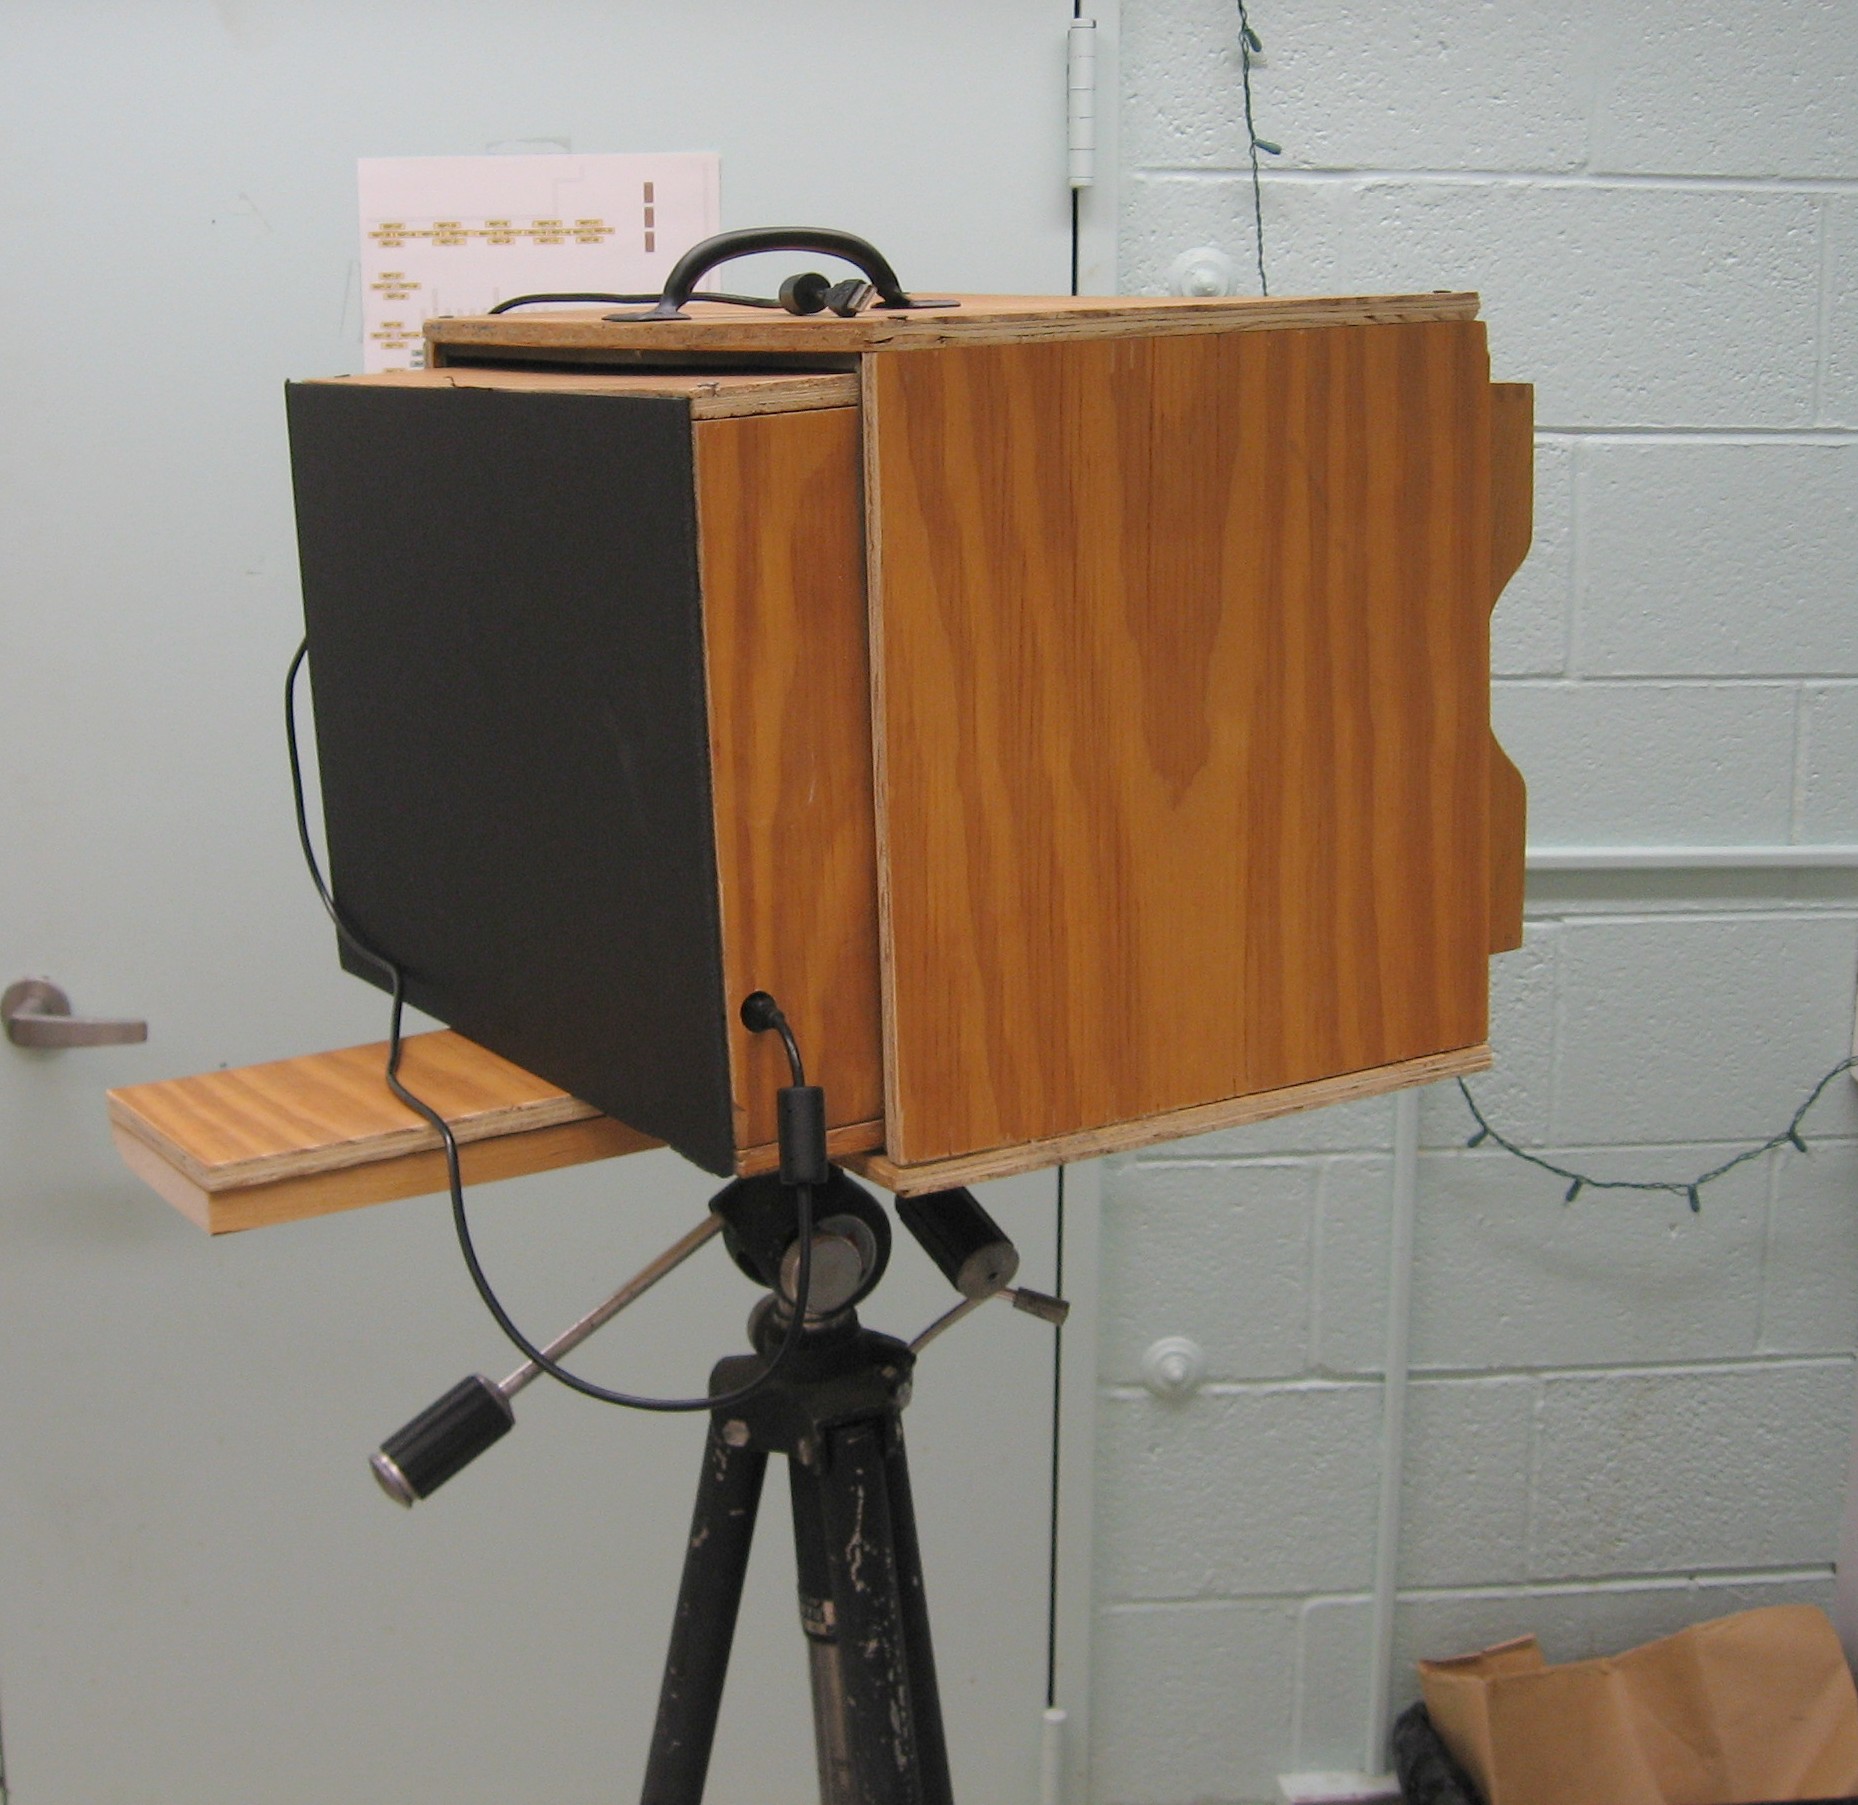
The camera is a sliding box camera: two boxes, one slightly smaller than the other, are slid to focus the camera. Major portions of the boxes are made out of 1/2-inch plywood. The front and back of the camera are black foam-core board. I used some weatherstripping to block light in between the inner and outer box. Thanks to Tod Olson for the plywood and cutting help.
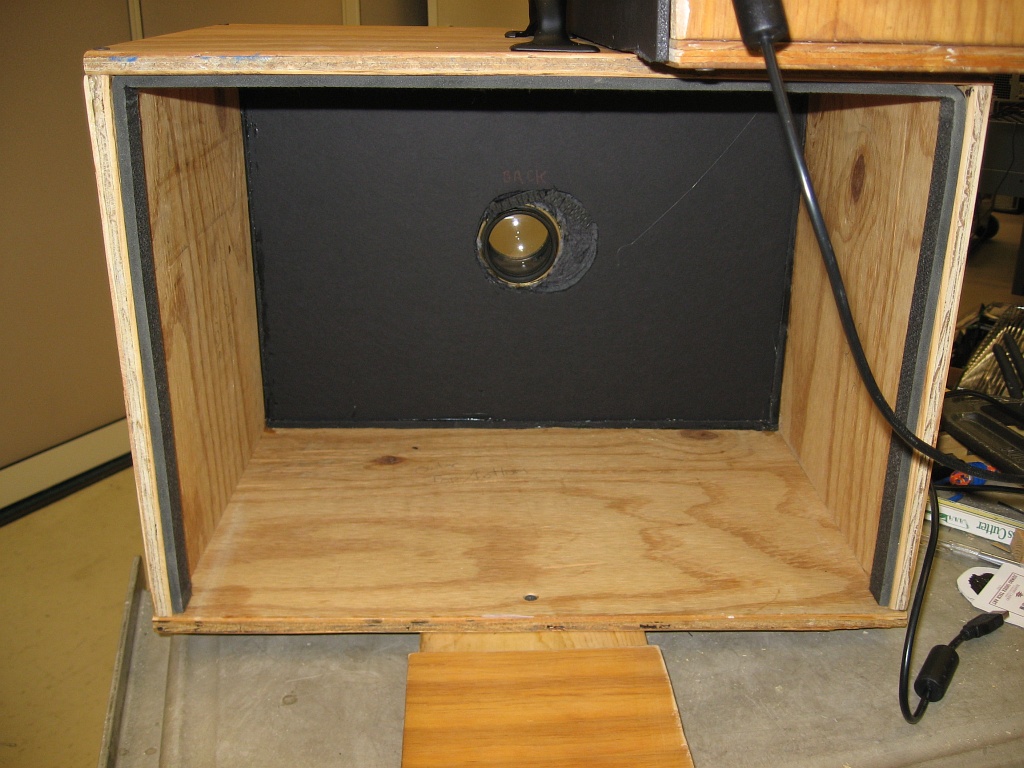
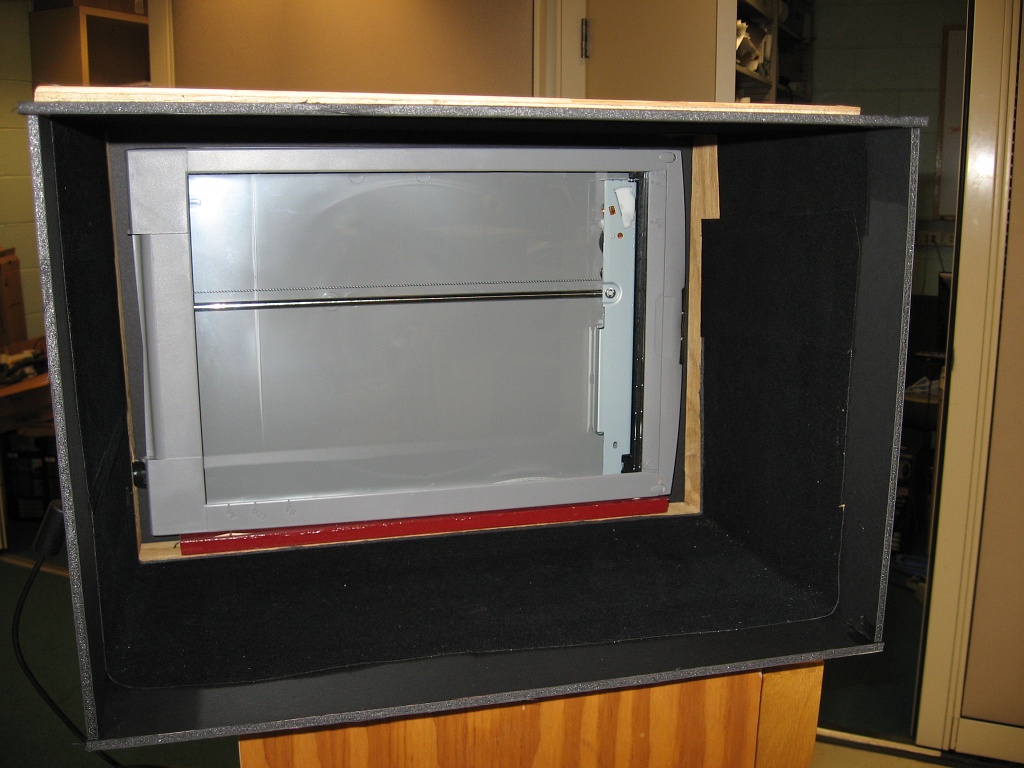
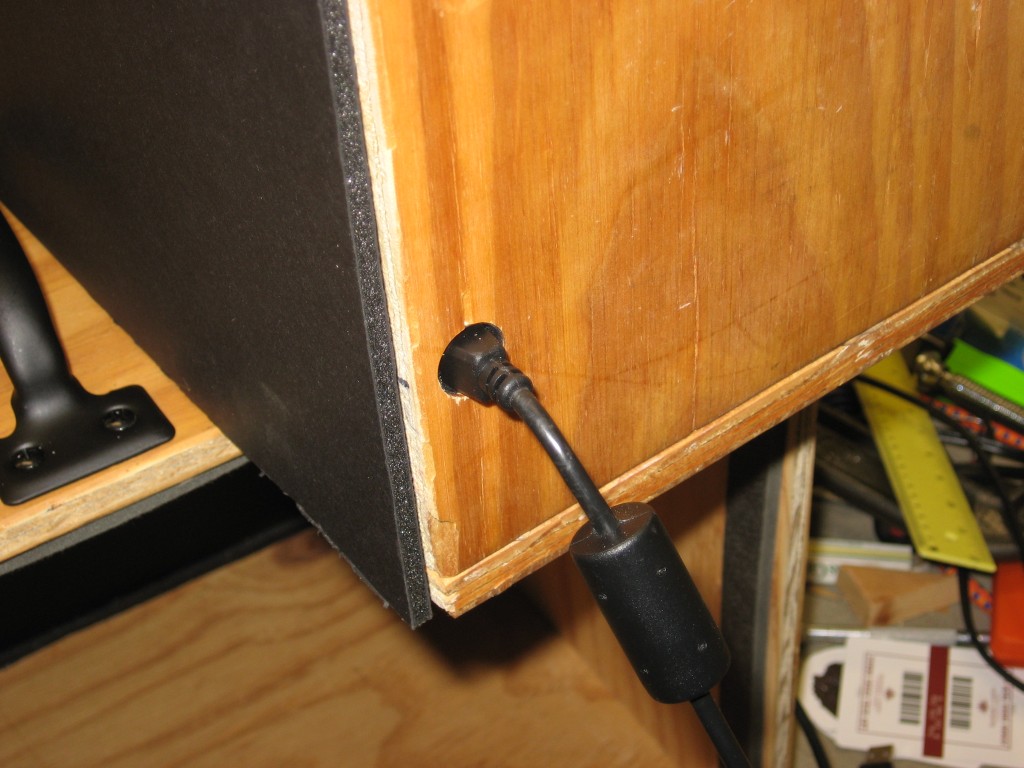
The Canon scanner sits at the back of the camera. The inside of the camera near the scanner is covered in self-adhesive black flocking paper from Protostar. Some additional foam-core board makes a light shield in front of this box when focusing close objects.
The large box and the front lens board are mounted on a 1" x 5" board, cut to about 24". A 1/4 x 20 tripod bushing is glued into a slightly depressed cut underneath. A small piece of 1/2-inch plywood at the back supports the inner box when focusing on close objects. The focusing range is from infinity to just under 4ft.
The scanner is powered via the USB connection.
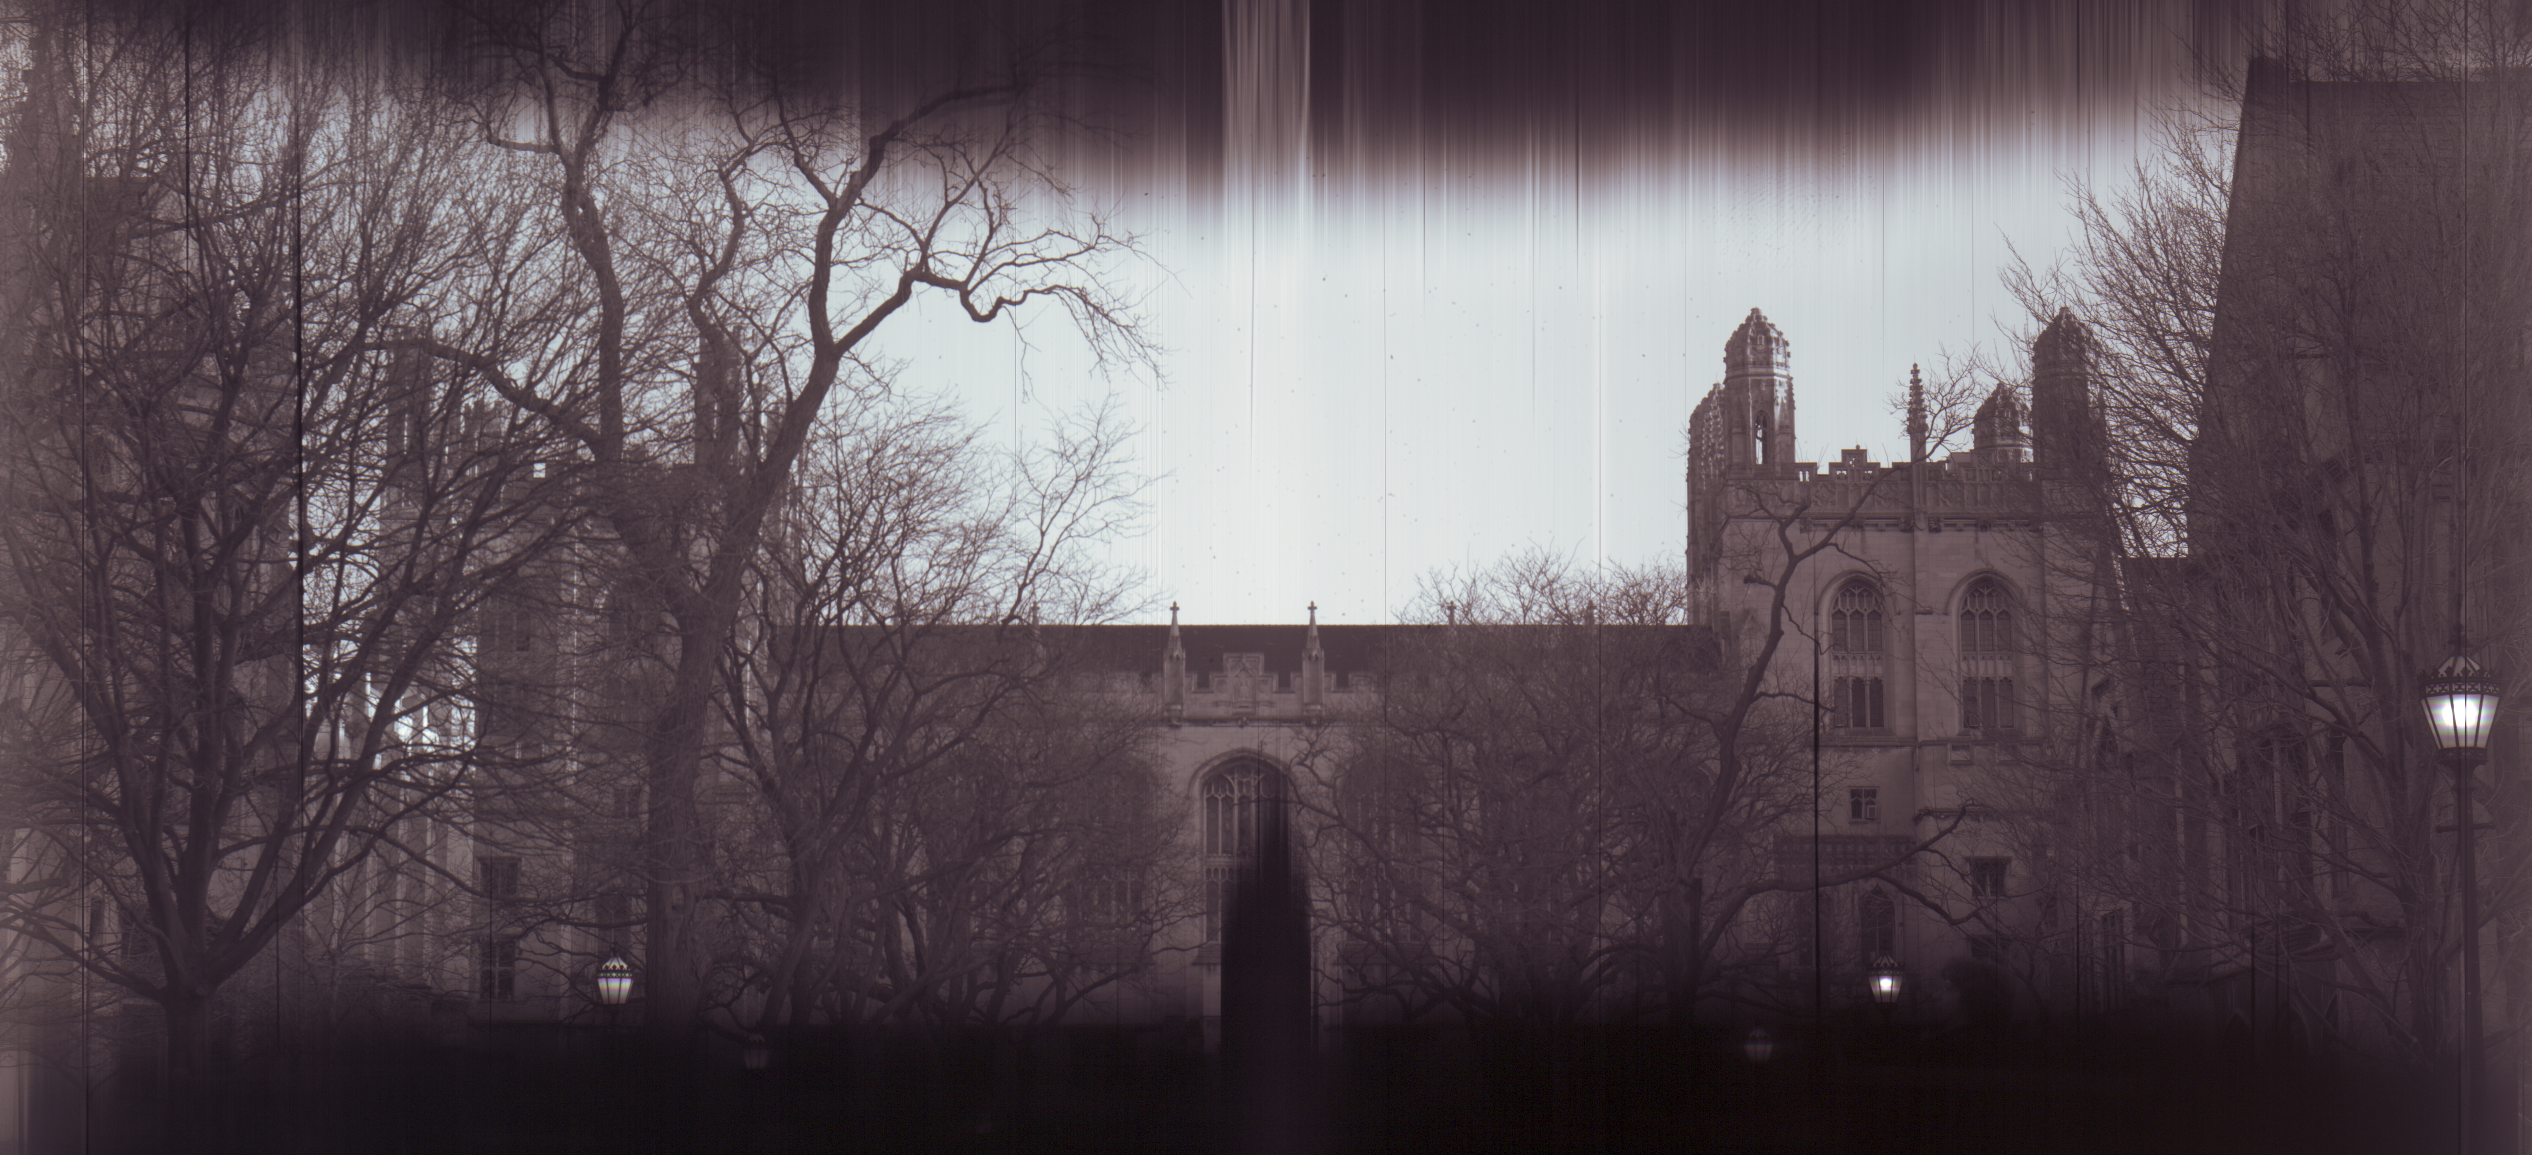
Here's an image out of the camera. I turned it on its side to get a better view of Harper. The only thing I did was sharpen it a touch: it can be sharpened much more. The vignetting is optical in the scanner and requires some additional surgery to the scanner before it allows me to scan the entire 8.5" x 11.7" area. This particular image I scanned at 300dpi.
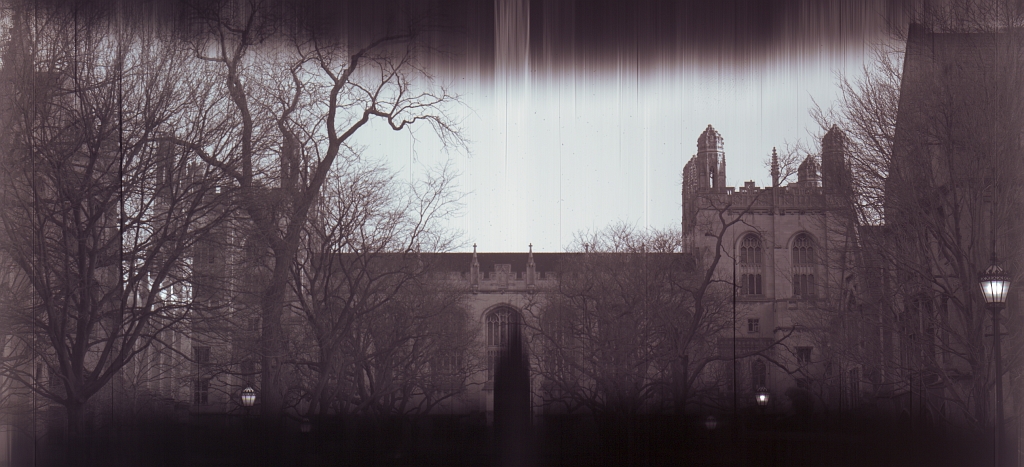
To view the image unaltered out of the camera, click here. It's 2532x1155.
9 comments:
Oooh, very steampunk.
Thanks! Is wood allowed in steampunk?
After reading more about, it sure is. I was under the mistaken impression that it was all iron and brass.
Come on, you've got a modern-tech device inside a handsome wooden cabinet with a lens that was mainly in use during the late 19th century. What's not to love?
Dean,I really hope this is for real! It's a marvellous 'contraption' ; just the sort of solution and bits married together that I wonder about too. My son and I came across you when researching his school photography project. I'd also just lashed together a black cardboard, 2 boxes sliding with a tracing paper screen, pin-ish hole 'camera obscura' ! It works fine but your camera is brilliant ! I just cannot quite understand how you get the exposure (& I've several old whole plate wooden cameras which I occasionally use). Is the scanner light disabled? Is it copying a tracing paper type focussed image ? I've certainly old reflective scanners I could take apart. Or are you just kidding ?! I hope not: I especially like the filing tray lens board..!
regards, Laurence Burns
The scanner does have some autoexposure capability on it. I rely on that and I add aperture stops as needed to extend the autoexposure range. The lens is f/8 and works in an inside office environment by itself; outside I need to drop to f/64 or f/128 or further.
The scanner light stays on in my camera. I've had a lot of problems with them if I disable the light, but having it on limits my sensitivity at the dark end. Stephen Miller, for instance, disabled his light and he has a fast lens that works really well in dimmer environments.
Oh, and the other question: it is a direct image. With non-LIDE scanners you can't do direct imaging, and with tracing paper, ground glass, etc. you can sort of create a scanner camera.
Brilliant!
This might be the biggest "digital back" around!!
Congratulations...
3D laser scanning is the process of collecting information about an object using laser light. It can collect data with high accuracy. These data can be used in reverse engineering and point cloud. Onsite3D provides the best 3D laser scanning service in Houston, Texas. Best 3D laser scanning service Houston, Texas
Post a Comment