Showing posts with label scanner camera. Show all posts

Monday, February 21, 2011

Adventures in Large Format Digital Photography: part 6: a new scanner camera

I am starting anew! After I got a bad back moving my box camera around, I've always wanted to reinvigorate the first generation scanner camera I made. It was built around a Agfa Ansco Viking Anastigmat f/6.3 lens from a medium format camera and a wooden mail inbox. The lens has incredible coverage. Here's a look with little modification to the sensor array plastic:

ScanImage015-contrast-sharp-flickr

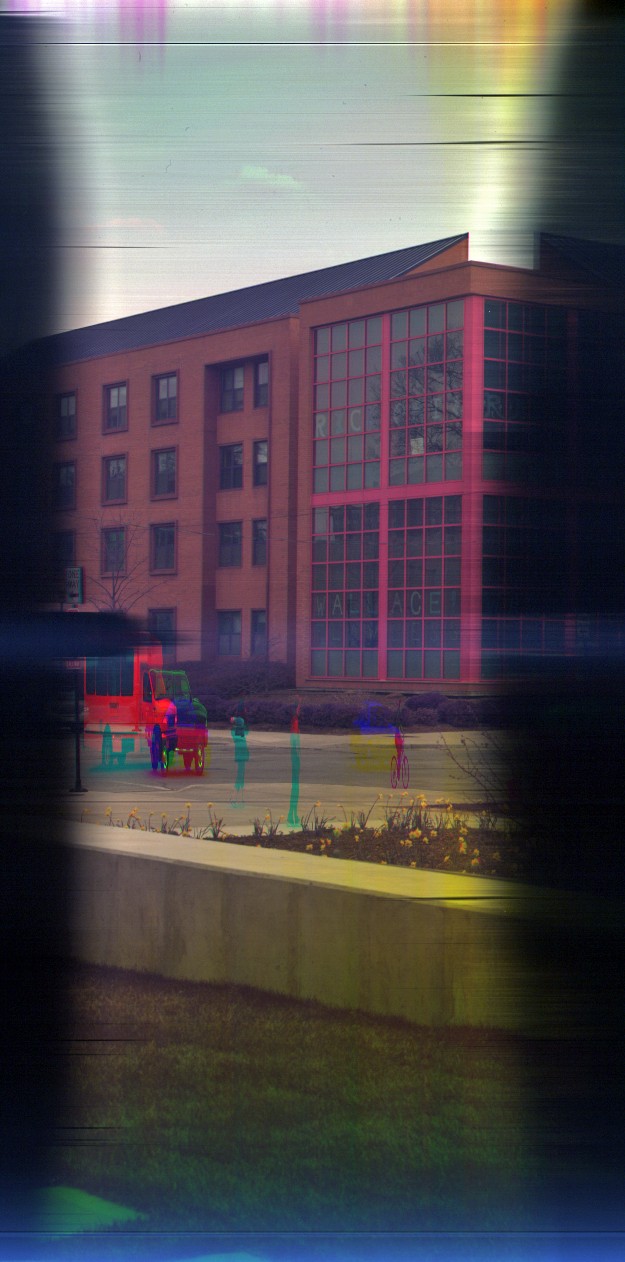
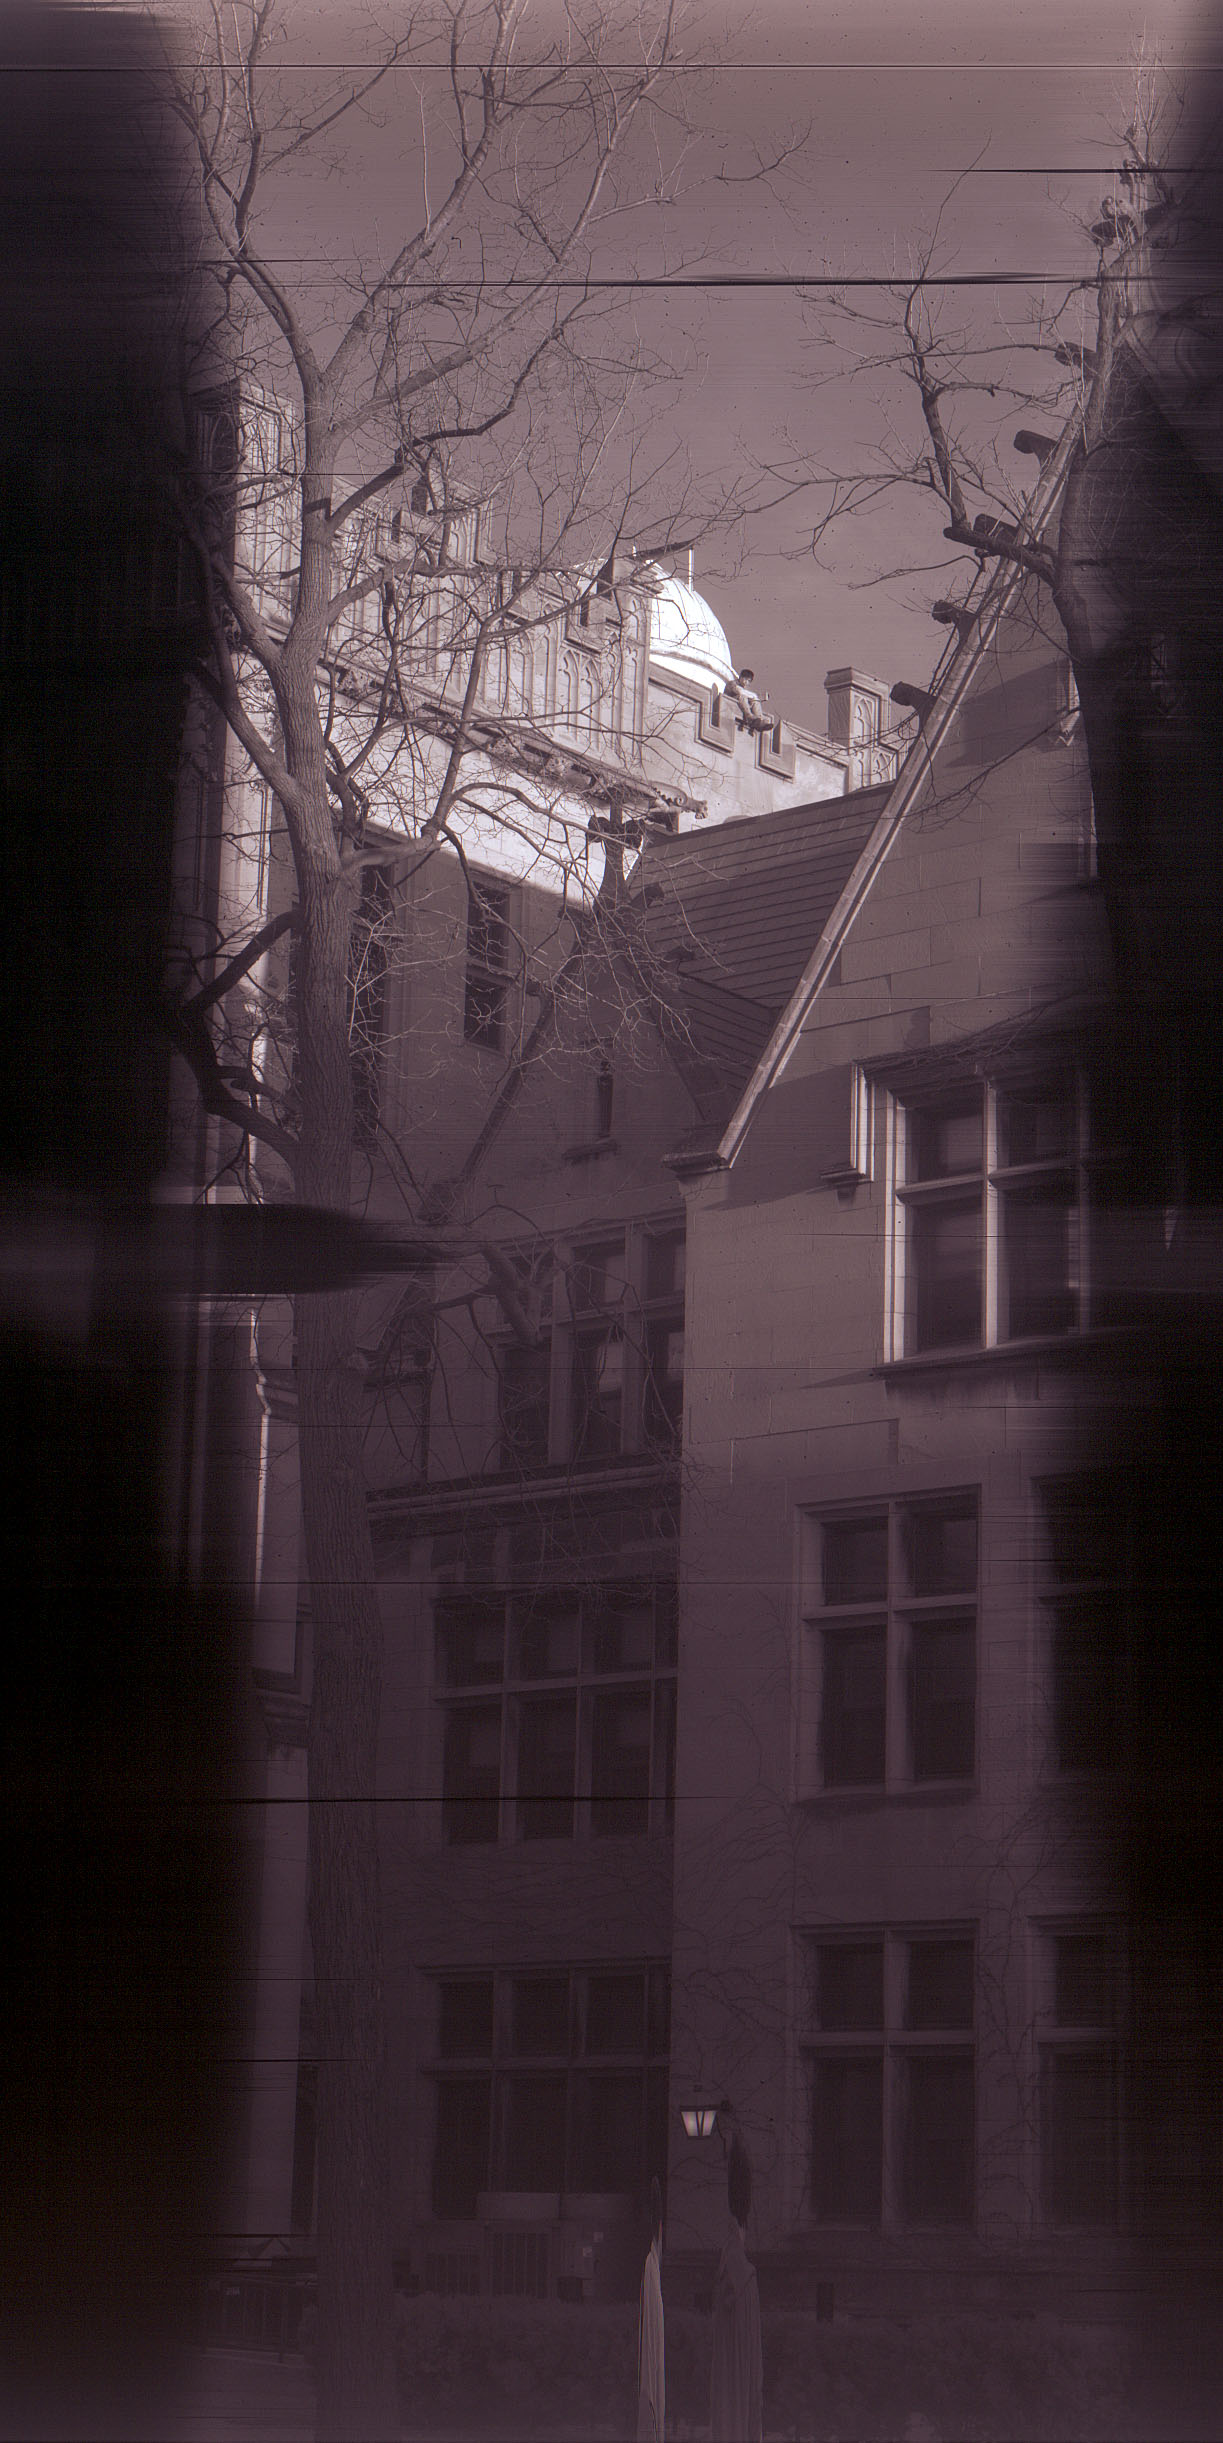
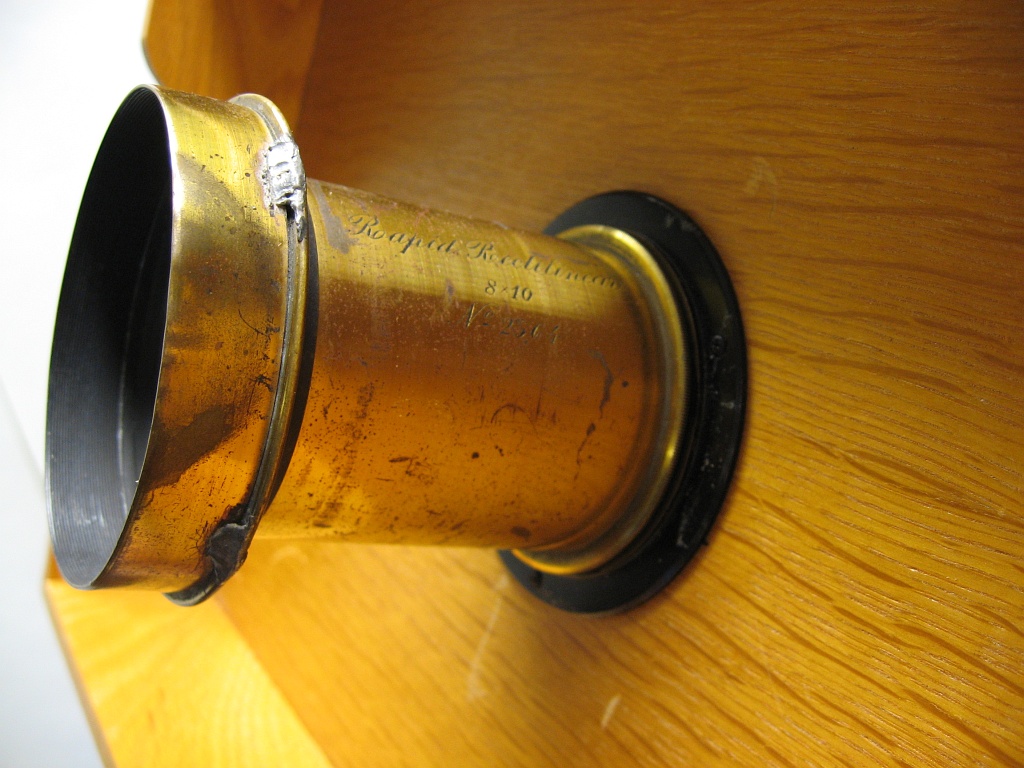
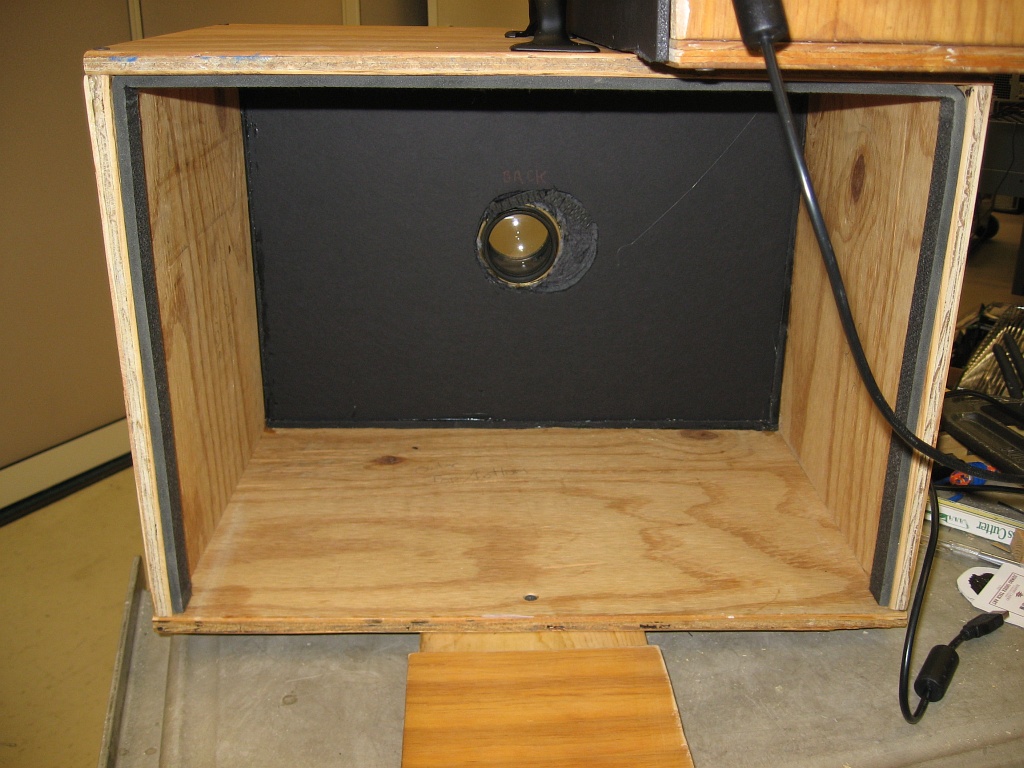
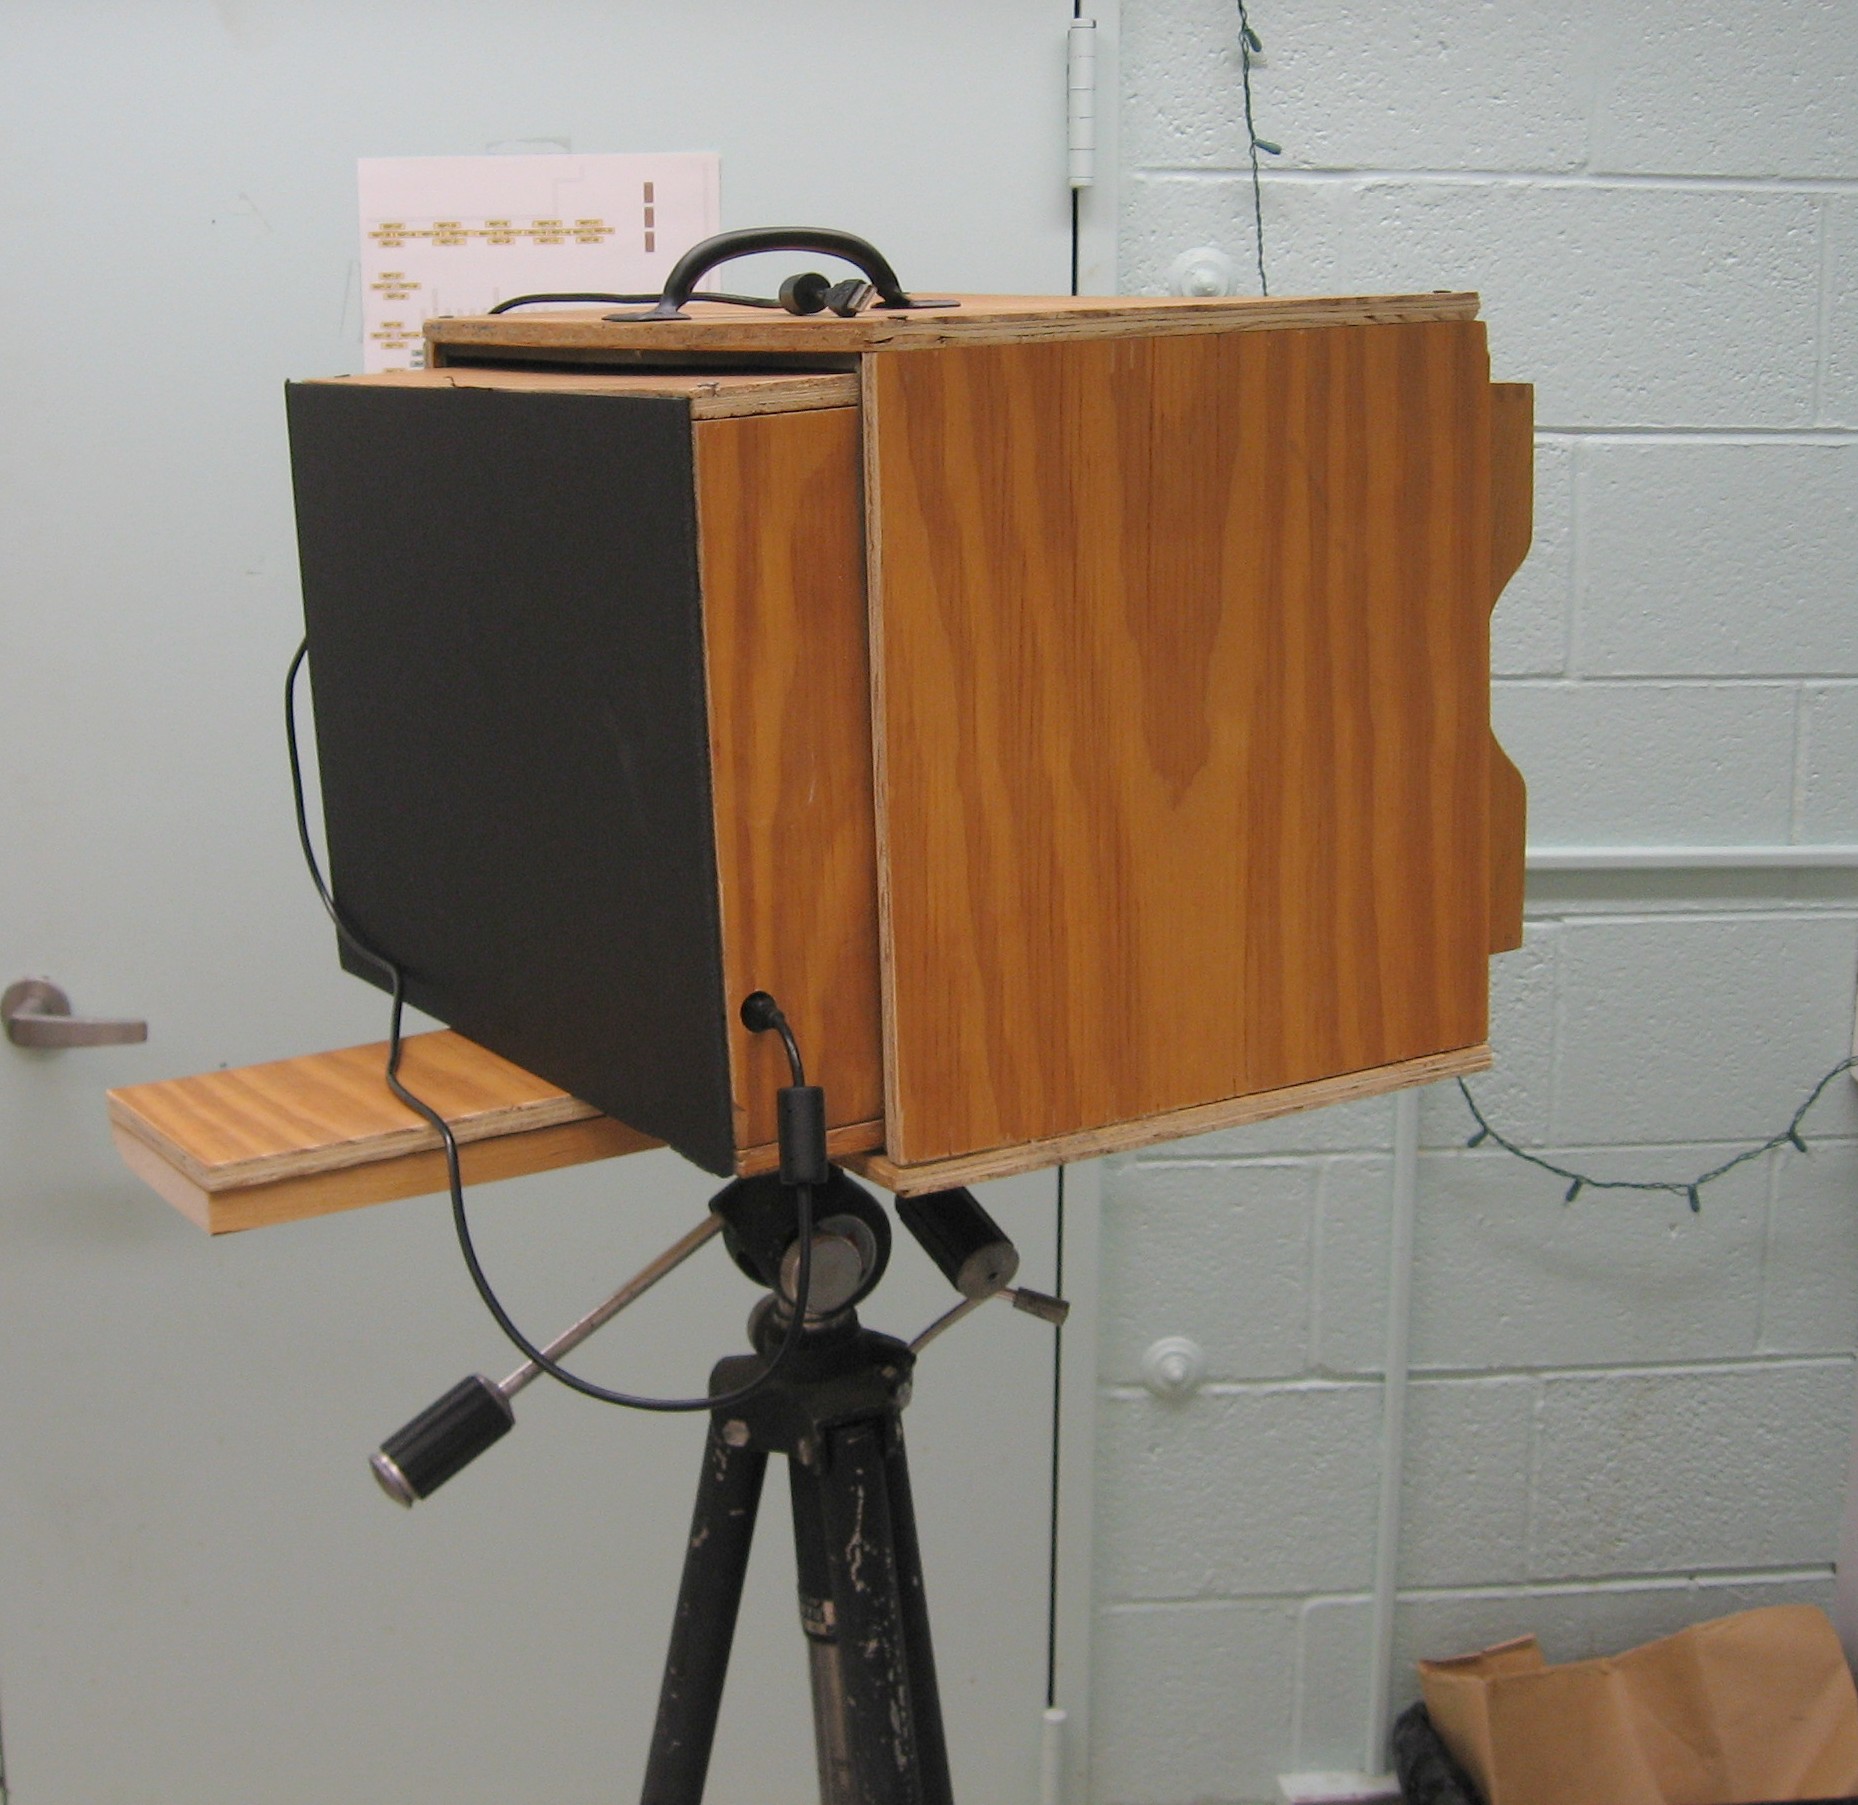
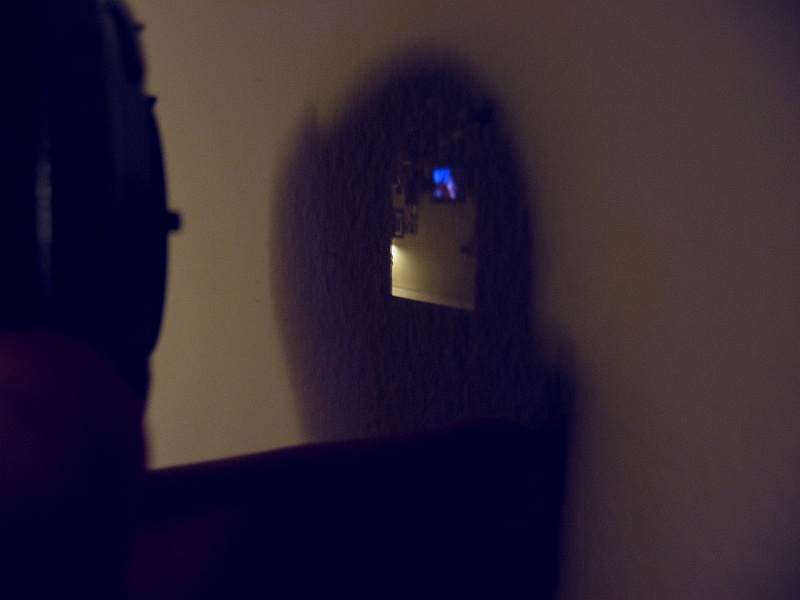
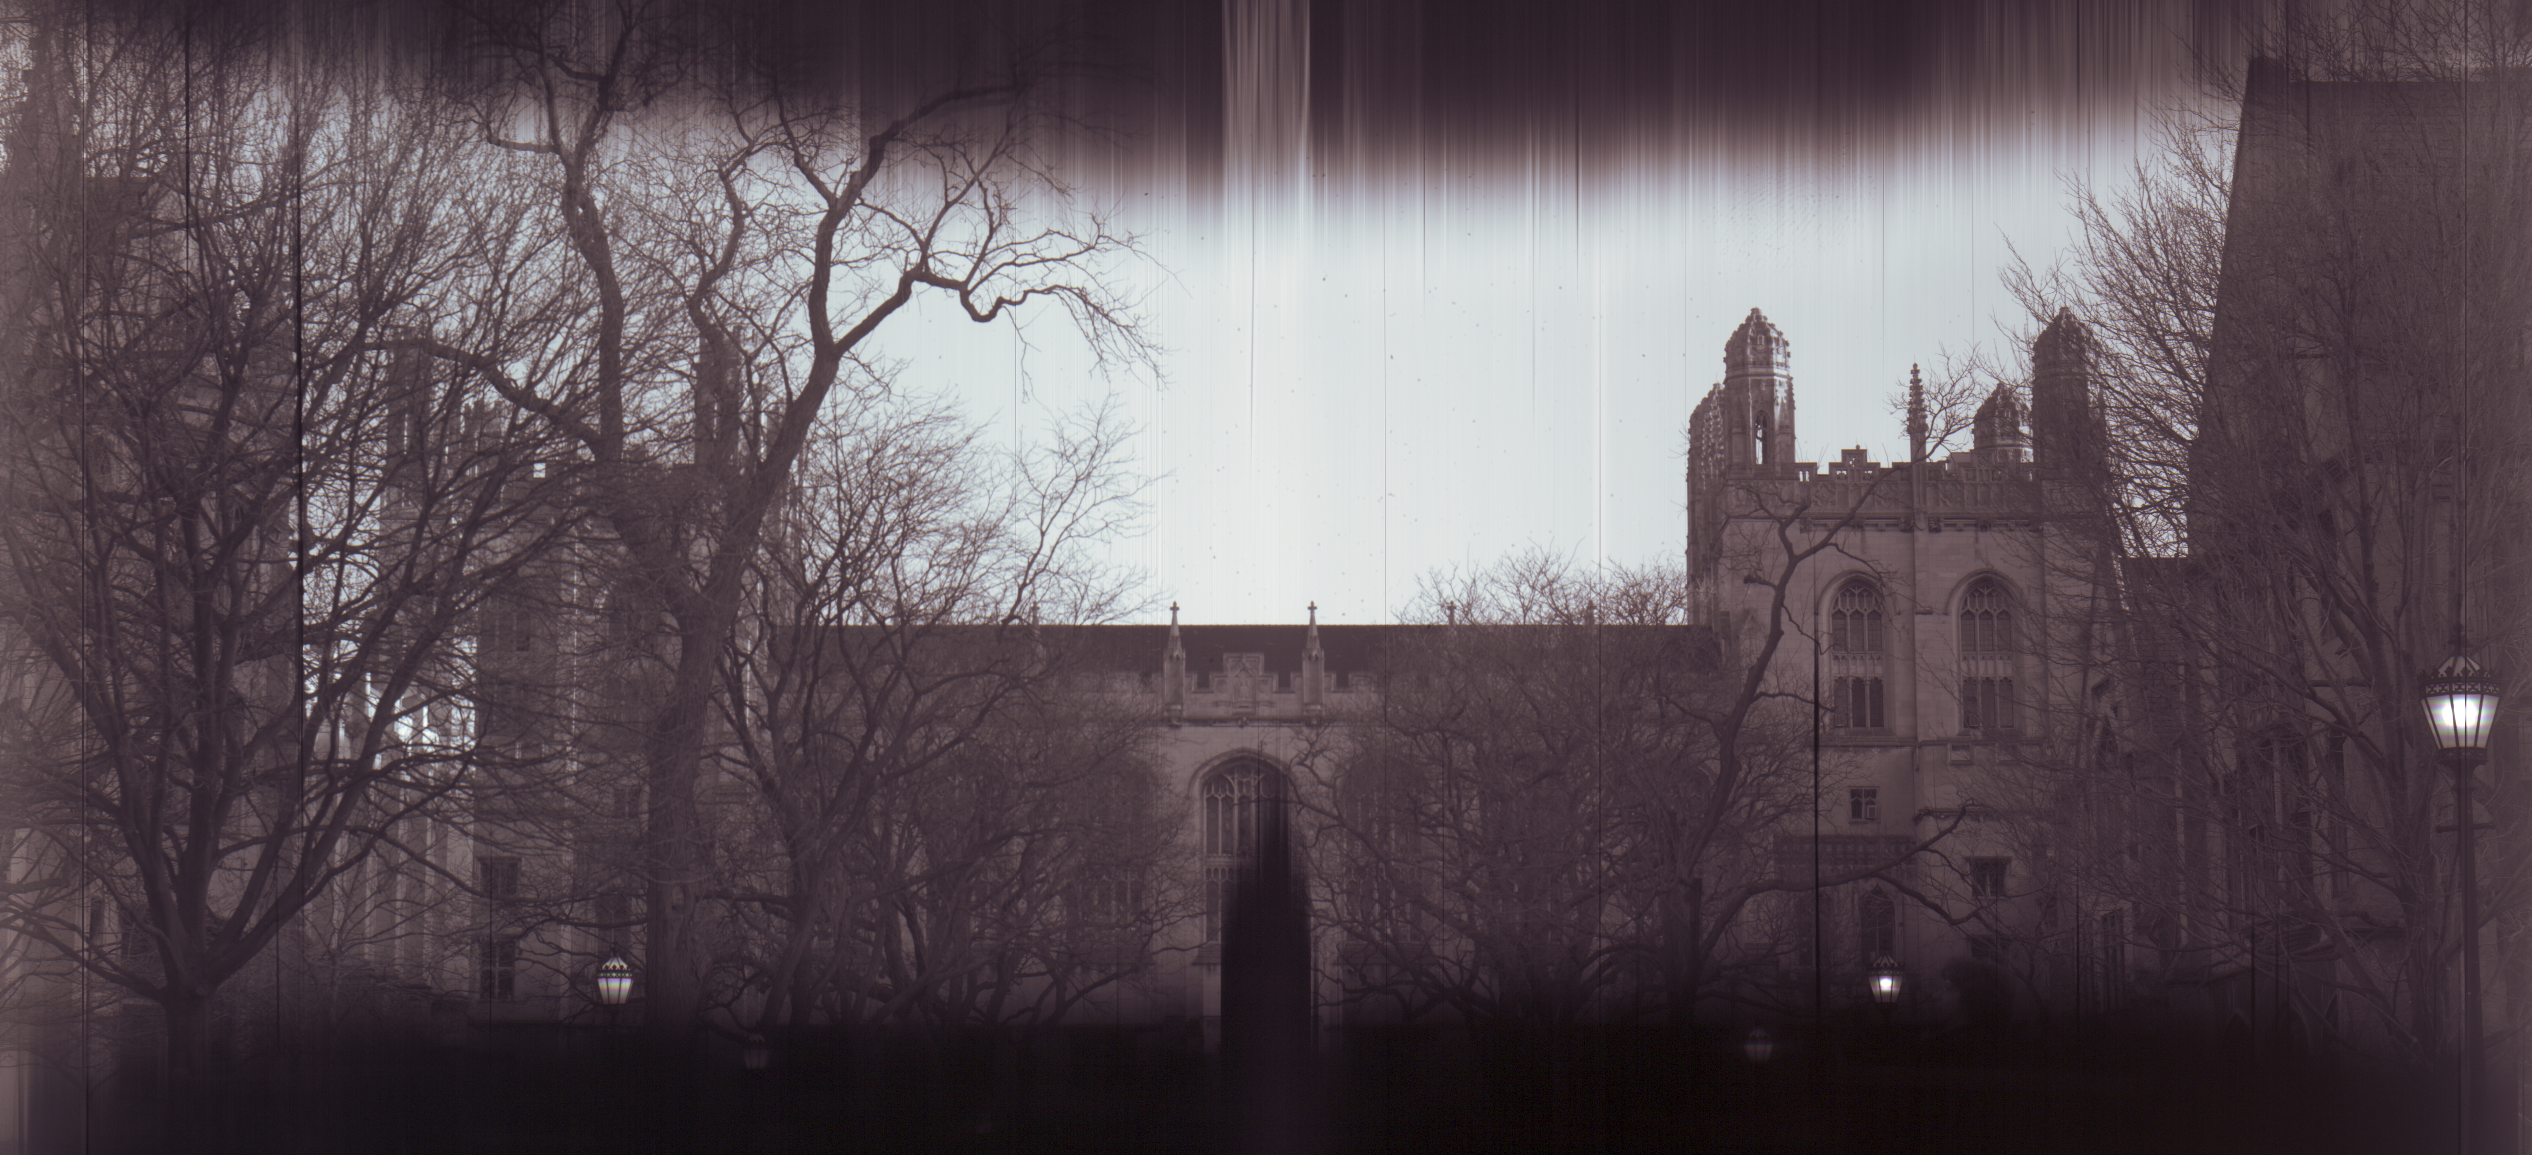
When I used the lens on the first scanner camera with a highly modified sensor, it had coverage of about a 7 inch diameter circle.

The trick is not breaking the new scanner's firmware checking. As soon as I remove the pinhole lens array it started having issues. I had to add the pinhole lens back anytime a particular error message came back. I hesitated to modify the scanner because of the chance of permanent problem.

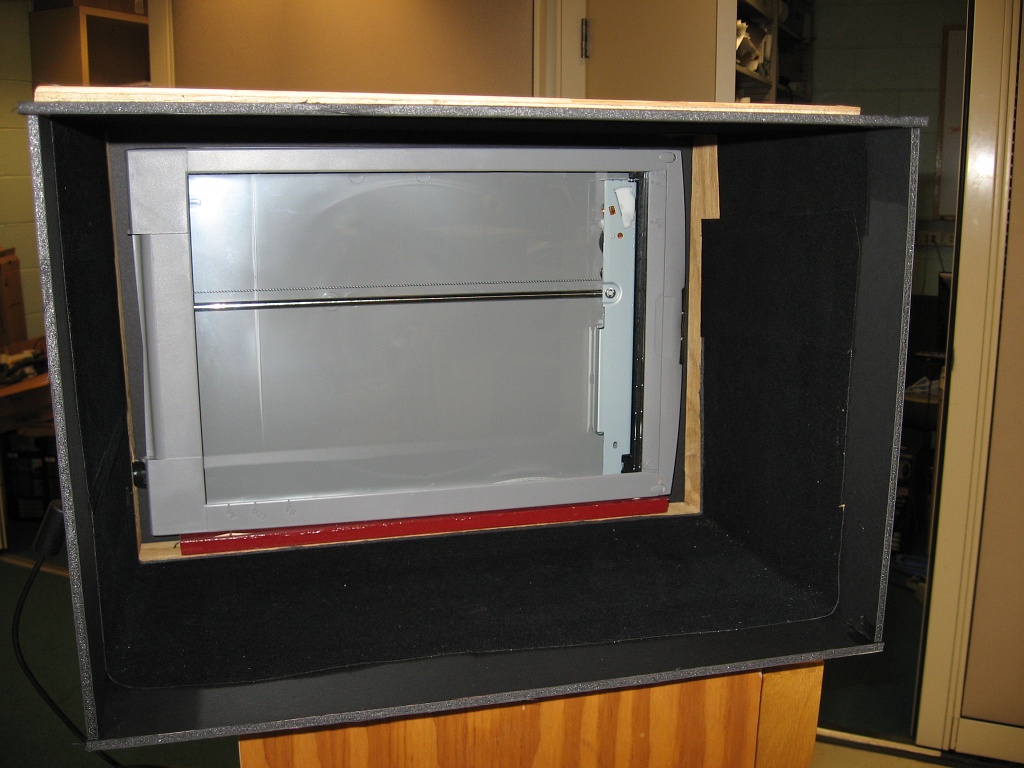
The new scanner (a Canon LiDE 90) was very sensitive to the position of the glass cover--it was very important to have the glass precisely in place to keep the initialization target in the right place.

Very, very carefully, I used a sharp x-acto knife to remove the plastic tabs and the two new rivets that go through the center of the CIS sensor board. I removed the LED light pipe by finding the tabs that hold it in.

Putting the sensor back immediately made it 'broke'. But I occasionally got it to work. In the end, it appears that unless there is illumination at the instant you hit the preview button in the TWAIN application, you will get the error 2,7,0. I'm still figuring this out.

large format flatbed scanner

Sunday, October 19, 2008

Scanner Camera color

If you could synchronize a tri-color set of filters with the RGB set of LEDs in the Canon Canoscan scanner, you could produce color images with a single scan of the diy scanner cameras out there.

Thursday, May 08, 2008

Adventures in large format digital photography: part 5

I got the camera working again, kinda of. It doesn't work with TWAIN enabled stuff. It will work just fine using Vuescan on Windows and XSane on Ubuntu. Exposures are weird with Vuescan--I seemingly lost 3 stops of speed with it.

I also dremeled open the highly vignetting slot that previously limited the images to that narrow vertical view. I can now scan 7x11 inches. (Somehow I lost an inch and a half--the sensor is dead below 7 inches). There is also a band of vignetting and/or low sensitivity right across the central-top of the frame.

maxpavleskywest-color

Scan-080506-0003-edit-smaller-sharp

Scan-080506-0013-edit-small-sharp

pavelsky-east-door-smaller

barlett-ivy

Wednesday, April 23, 2008

Rockefeller Chapel, Reynolds Club, and Flowers

rockefeller-f8-2-edit

The light was rapidly falling last evening and this was my last image, with a full open aperture, but it was still underexposed by about a stop. Expressed in other terms, a film camera with 100ASA film would expose for this for about one second at f/8. Autoleveled and hue adjusted in photoshop. See the original here. This also was the first outing of the camera with a coat of black paint in the interior, an additional baffle on the top to handle light when doing macro work, and I added a shoulder strap with some eyelets (one broke on the trip). Remind me to stick some teflon strips or wax the bottom of the inner box--it's getting too hard to move to focus.

flowers-f13-color-smaller
A color image, underexposed. The lightest of breezes moved the daffodils a touch between exposures. The flowers were just over 4 feet away.

reynolds-botany-f45-300-1

Friday, April 18, 2008

Adventures in Large Format Digital Photography: part 4

Today I mounted an inexpensive IR blocking filter in front of the lens using a cardboard mount. It's ugly, but gets the job done. I did this because after a second outing with the camera the odd tones on vegetation and clothing were getting tiring. It also allows me to make real color images with three separate red green blue scans.


Three separate scans using a 25A red, 47 blue, and a combo X1+Y2 greenish filters. Added together in photoshop and auto-leveled, plus some addition saturation, and some highlight/shadow work.
The green is not a true tricolor green, it's more yellowish. I need to buy the 61 green to get better matching.

Friday, April 11, 2008

Adventures in Large Format Digital Scanning: Part 3

Click to enlarge any of these to the original size (the first image is actually only 50%).


An early image with the prototype cardboard camera. This image was auto-leveled, sharpened, and hue altered to attempt to match the original color out of the camera.


When outdoors with a small aperture all the dust on the scanner glass becomes visible, as seen in this and all further images in this post. I ended up cleaning it after this first trip outdoors.


You can heavily sharpen the images out of the camera: this one is at 169%. I am still experimenting with basic things like focusing and apertures, so final sharpening levels are way in the future.


I made a second scan of Lui at 1200dpi, cropped, and cropped some more in post-processing. It looks soft on the original and I think 1200dpi might be interpolated (although Canon says 1200x2400dpi). It's also possible the focus was off.

Wednesday, April 09, 2008

Adventures in Large Format Digital Scanning: part 2

Some photos of the current iteration of the large format scanner camera. I built this over the past month after getting out of the mark I cardboard prototype phase.


The front of the camera holds a 8x10 format lens. It's mounted in a ring that attaches to a wooden inbox. The lens is a "Rapid Rectilinear", a symmetrical lens with four lenses in two groups around a stop. The lens type was invented in 1866 and was the predominant lens for about 50 years. My particular model lacks an iris and instead you insert thin metal sheets called Waterhouse stops into a slot on the lens to select an aperture. For the moment, I make the stops out of ordinary playing cards.


Both the lens and lens mounting ring were bought on Ebay.

The camera is a sliding box camera: two boxes, one slightly smaller than the other, are slid to focus the camera. Major portions of the boxes are made out of 1/2-inch plywood. The front and back of the camera are black foam-core board. I used some weatherstripping to block light in between the inner and outer box. Thanks to Tod Olson for the plywood and cutting help.


The Canon scanner sits at the back of the camera. The inside of the camera near the scanner is covered in self-adhesive black flocking paper from Protostar. Some additional foam-core board makes a light shield in front of this box when focusing close objects.


The large box and the front lens board are mounted on a 1" x 5" board, cut to about 24". A 1/4 x 20 tripod bushing is glued into a slightly depressed cut underneath. A small piece of 1/2-inch plywood at the back supports the inner box when focusing on close objects. The focusing range is from infinity to just under 4ft.


The scanner is powered via the USB connection.


Here's an image out of the camera. I turned it on its side to get a better view of Harper. The only thing I did was sharpen it a touch: it can be sharpened much more. The vignetting is optical in the scanner and requires some additional surgery to the scanner before it allows me to scan the entire 8.5" x 11.7" area. This particular image I scanned at 300dpi.


To view the image unaltered out of the camera, click here. It's 2532x1155.

Sunday, April 06, 2008

Adventures in Large Format Digital Scanning: part 1

Have you ever taken a magnifying glass in a darkened room and focused the scene outside on a wall? Or just focused the sun or a bright light?


an image from a 50mm lens: the scene from the other room.

An even simpler optical system is the pinhole: Light rays are constrained in that there is one angle, and one angle only, that they can go through the pinhole, making an always in-focus optical system. There are pinhole systems everywhere: just go under a tree. All those round discs of light? Real images of the Sun. Most people don't notice until the Sun is eclipsed by the Moon, when those round discs turn into a thousand crescents.

Going back to the image formed from a real lens. Can you see if you replaced the wall with a piece of film, you've made yourself a camera? What if you put a CCD there? (That's the "film" of digital).

Now take a flatbed scanner. Those devices image just what's put right in contact with the glass on top of them. A piece of paper, a print, a film negative, etc. What if we put a flatbed scanner in the focal plane of the lens from above? If everything went right, we'd be scanning the image produced by the lens.

This is the technique used by a number of early medium format and current large format digital backs. For instance, see this Seitz scanning back or the range of scanning backs at BetterLight.

Now these are nice and all, but I don't have tens of thousands of dollars nor a 4x5 camera to stick a digital back on. So I decided to build one. This post has been sitting for quite some time with me wondering exactly how to start describing this project. My hand has been forced though, as yesterday I took my prototype outside for the first time and people starting asking questions.

So, here's an image from yesterday. Ignore the defects. The original is 1268x2552. I can quadruple that resolution at the moment, but didn't in this particular image.

Reynolds Club
Reynolds Club at 300dpi, smallish aperture, no IR block. Slight levels adjustment, unsharp mask. Click to enlarge.